GuidesEvergreen guide
How to Set Up a Cold Storage Wallet
How to Set Up a Cold Storage Wallet: a practical, no-hype guide for readers from GlobalCryptoWallets.com.
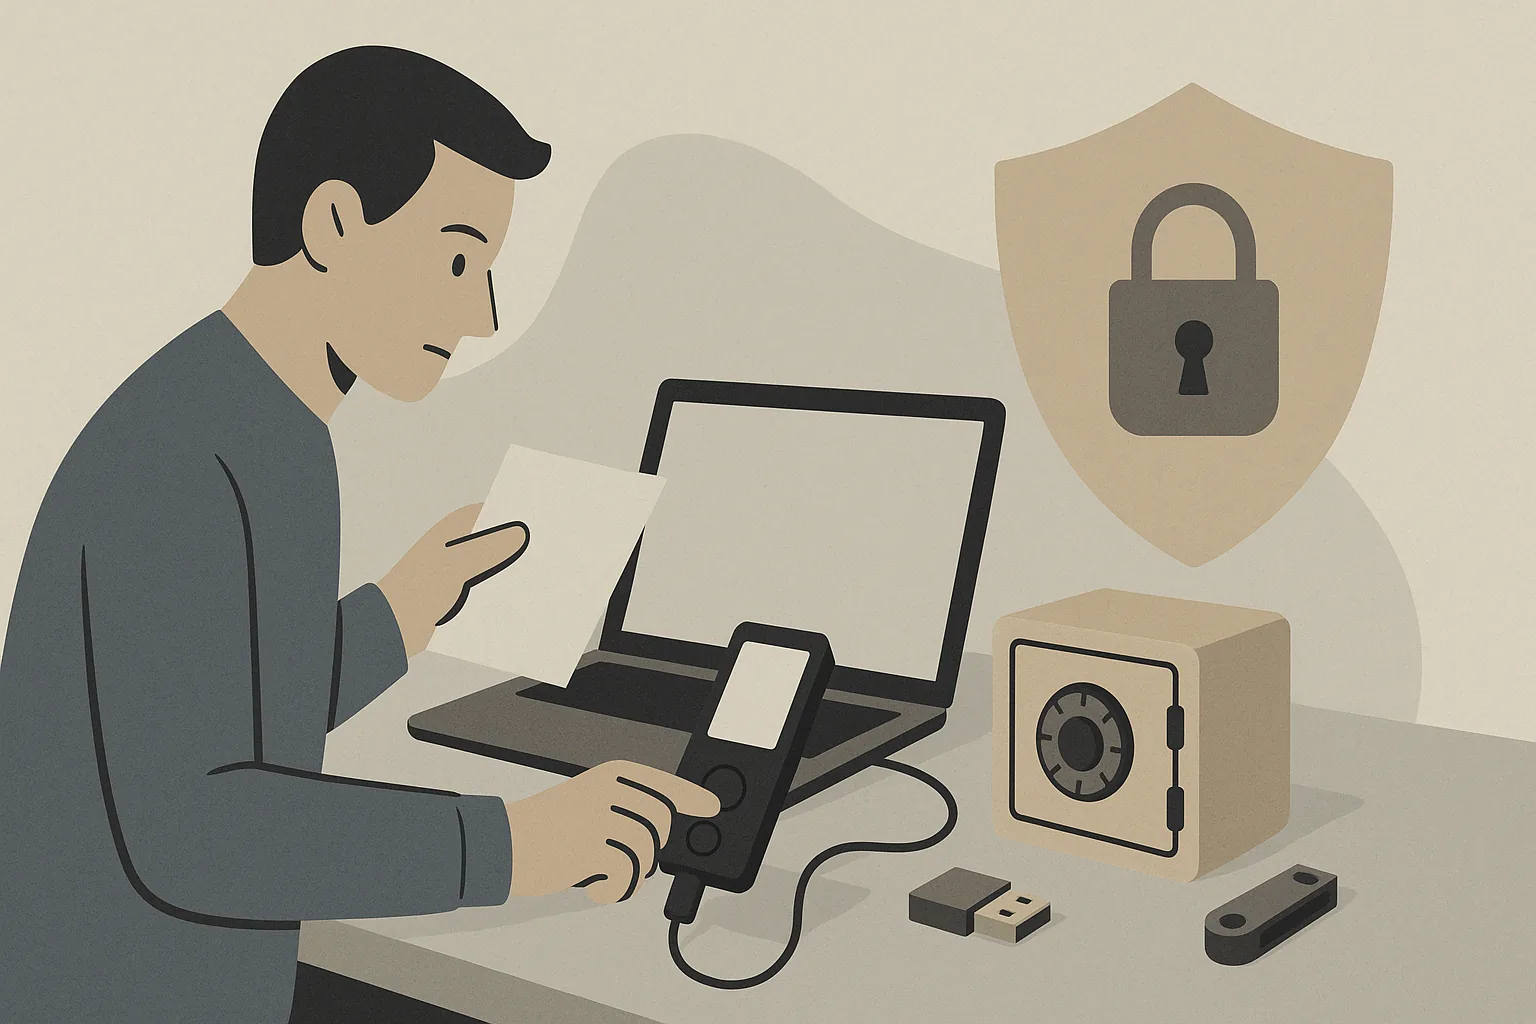
The digital frontier of cryptocurrency offers unprecedented financial autonomy, but with great power comes great responsibility for security. It moves your valuable crypto holdings offline, away from the constant exposure of the internet, making them significantly harder for malicious actors to access.
Understanding Cold Storage: What It Is and Why It's Crucial
Cold storage refers to keeping your cryptocurrency private keys entirely offline, disconnected from the internet. This contrasts sharply with hot wallets, which are always connected and convenient for frequent transactions, but inherently more vulnerable to online threats like hacking, malware, and phishing attacks. When your private keys, which represent ownership of your crypto, are never exposed to an internet-connected device, they become virtually impervious to remote digital theft.
Choosing Your Cold Storage Method: Hardware vs. Paper Wallets
Hardware wallets are dedicated physical devices designed specifically to store private keys offline and sign transactions securely. However, they come with an upfront cost and require physical safekeeping. Popular brands include Ledger, Trezor, and KeepKey. Paper wallets involve printing your public and private keys, often as QR codes, onto a piece of paper. They are free to create and offer absolute offline storage, as the keys never touch a digital device connected to the internet. For most general users, especially those new to cold storage, a hardware wallet is the superior choice due to its balance of security, convenience, and user-friendliness.
step by step Guide: Setting Up a Hardware Wallet for Maximum Security
Always purchase your hardware wallet directly from the official manufacturer's website or an authorized reseller to avoid counterfeits or tampered devices. Next, power on the device and follow the on-screen instructions for initial setup. Choose a strong, unique PIN that is not easily guessable. This seed is the master key to your funds; whoever possesses it controls your crypto. Carefully write down these words in the exact order they appear, using a physical pen and paper provided with the device, or your own durable material. Never take photos, type, or store this seed on any digital device or cloud service. After setting up the PIN and recovery seed, your device may prompt you to update its firmware. Always perform firmware updates via the official desktop application provided by the manufacturer. Ensure you are downloading software only from the official source by checking the URL carefully. Never connect your hardware wallet to a public or untrusted computer. Use a clean, personal computer that is free of malware.
Securely Creating and Storing a Paper Wallet (with critical warnings)
This dedicated machine should be freshly wiped and installed with a minimal operating system. You would then download an open-source paper wallet generator (like WalletGenerator.net's offline version) onto a USB drive from a separate, secure online computer. Transfer this generator to the air-gapped machine and run it to generate your public and private keys. Print these keys onto multiple pieces of high quality, durable paper using an offline printer, meaning a printer that is not connected to any network. After printing, immediately delete the generator software and securely erase the computer's hard drive to remove all traces of the generated keys. Laminate the paper copies to protect against water, smudging, and tearing. Store them in at least two physically separate, secure locations that are resistant to fire, flood, and theft, such as a safe deposit box and a home safe. Never reveal the locations to anyone. This requires "sweeping" or "importing" the private key into an online wallet, which exposes your private key to an internet-connected device, effectively turning it into a hot wallet.
Generating and Protecting Your Recovery Seed/Private Keys
Losing it means losing access to your funds, and if someone else obtains it, they gain full control over your assets. Use a pen and paper. The goal is redundancy and geographical dispersion to protect against localized disasters. Never, under any circumstances, digitize your recovery seed. This means no photos, no screenshots, no saving to cloud drives, no emails, no text messages, and no typing it into any computer or phone. Any digital copy exposes your entire crypto fortune to hacking and malware. Periodically, you should review your recovery seed's physical condition and the security of its storage locations. Some experts recommend performing a controlled test recovery with a small amount of crypto on a different hardware wallet (not your main one) to ensure your seed is correctly written and recoverable, but only do this if you are confident in your setup and privacy. This step ensures you have correctly recorded your seed phrase before a real emergency arises. Remember, your recovery seed is not merely a password; it is your actual crypto asset. Treat it with the utmost care and secrecy. For more guidance on securing your broader crypto wallet ecosystem, refer to our comprehensive article How to Secure a Crypto Wallet on GlobalCryptoWallets.com.
Sending Funds to Your Cold Storage Wallet (and Testing It Safely)
Once your cold storage wallet is set up and your recovery seed is securely stored, the next step is to transfer your cryptocurrency to it. First, access your cold storage wallet's interface, typically through a manufacturer-provided desktop application or a compatible web interface (for hardware wallets) while the device is connected. Locate the option to "Receive" or "Deposit" cryptocurrency. This will display your public receiving address for the specific cryptocurrency you intend to transfer. It is absolutely vital that you select the correct cryptocurrency and its corresponding network (e.g., ERC-20 for Ethereum, native Bitcoin for BTC). Copy this public address carefully. Next, go to your exchange or hot wallet where your funds are currently held. Initiate a withdrawal transaction. Paste the public receiving address you copied from your cold storage wallet into the destination address field. Before proceeding with a large transfer, always, without exception, send a small test amount first. This might be the minimum allowable withdrawal or a very small fraction of your total holdings. This test transaction acts as a verification step, confirming that the address is correct and that your cold storage setup is functioning as expected. After initiating the test transaction, wait for it to be confirmed on the blockchain and for the funds to appear in your cold storage wallet's interface. If the test transaction is successful and the funds are visible, you can then proceed with sending the remaining, larger amount. Even with a test transaction, it is a critical best practice to double-check the first few and last few characters of the public address both before and after pasting it into the withdrawal field. Clipboard hijacking malware can silently swap addresses, leading to funds being sent to an attacker's wallet. This meticulous verification ensures your funds are directed to your securely established cold storage.
Essential Security Best Practices for Maintaining Cold Storage
Maintaining the security of your cold storage is an ongoing commitment, not a one-time setup. Firstly, safeguard the physical device itself or your paper wallet copies. Treat them like precious metals or large sums of cash. Store hardware wallets in a secure location, preferably a safe, when not in use. For paper wallets, ensure their secure, dispersed storage as previously detailed. Secondly, always ensure your hardware wallet's firmware is up to date, but only perform updates through the official manufacturer's software and website. Regularly check for official announcements regarding firmware updates. Never update from third-party sites or prompts that appear suspicious. Thirdly, only connect your hardware wallet to a computer when you absolutely need to perform a transaction. Minimize its exposure to potentially compromised systems. When connecting, always use a computer that you trust and that is free from malware. Fourthly, periodically, and privately, review your understanding of your recovery seed. While you should never expose the seed unnecessarily, mentally or through a controlled exercise on a non-primary device, verify you know where it is stored and that it remains intact. Fifthly, consider diversifying your cold storage. For very large amounts, splitting funds across multiple hardware wallets or different brands can add an extra layer of redundancy against single points of failure or specific device vulnerabilities. Finally, remain vigilant against social engineering and phishing attempts. Attackers constantly try to trick users into revealing their recovery seeds or private keys. Remember, no legitimate service or support agent will ever ask for your recovery phrase. Be skeptical of unsolicited messages or emails claiming to be from your wallet provider. Cultivating these habits will significantly bolster the resilience of your cold storage against various threats.
Common Mistakes to Avoid When Using Cold Storage
Despite the robust security offered by cold storage, certain common mistakes can undermine its effectiveness and lead to irreversible loss. Avoiding these pitfalls is as important as setting up your wallet correctly. A primary error is buying hardware wallets from unauthorized resellers or secondhand. These devices could be tampered with, pre-loaded with malware, or designed to steal your recovery seed. Always purchase directly from the manufacturer. Another grave mistake is losing or damaging your recovery seed or private keys. If your physical copies are destroyed, lost, or become illegible, your funds are permanently inaccessible. This underscores the need for multiple, durable, and securely stored backups. Equally dangerous is digitizing your recovery seed in any form, whether through photos, cloud storage, emails, or typing it onto an internet-connected device. This immediately compromises the offline security of your cold storage. Using a compromised computer for hardware wallet setup or for interacting with its software is also a significant risk. Malware on your computer could potentially record your PIN, trick you into approving malicious transactions, or swap destination addresses. Ensure your operating system and antivirus software are always up to date. Failing to verify destination addresses meticulously before sending funds is a frequent cause of loss. Always double-check the entire address, especially the beginning and end characters, as clipboard hijackers are common. Neglecting firmware updates on hardware wallets can leave devices vulnerable to known exploits, although updates must always be performed through official channels only. Sharing your PIN, passwords, or device access with anyone, even trusted individuals, introduces a security risk. Your cold storage is for your sole custody. Lastly, for paper wallets, a common error is not fully understanding the risks and complexities, particularly the act of sweeping or importing keys, which can compromise the offline nature of the keys. It is also a mistake to send large amounts without first conducting a small test transaction. Always test before committing significant funds. For more information on securing your digital assets, refer to our guide How to Verify a Wallet Download Before You Install It at https://globalcryptowallets.com/blog/how-to-verify-a-wallet-download-before-you-install-it. By being aware of and actively avoiding these common errors, you can significantly enhance the security and longevity of your cold storage strategy.
Conclusion
Implementing cold storage for your cryptocurrency is a powerful step towards true financial self-custody and security. By understanding what cold storage entails, choosing the right method for your needs, meticulously following setup instructions, and consistently applying stringent security measures, even beginners can confidently safeguard their digital wealth. Remember, the digital world evolves, and so too must your security practices. Stay informed, stay vigilant, and embrace the responsibility of being your own bank.
Topics in this article
- cold-storage
- crypto-security
- hardware-wallets
- paper-wallets
- self-custody
- beginners-guide
GlobalCryptoWallets.com publishes news, reviews, and educational information only. Nothing on this website is financial, investment, trading, legal, or tax advice. Cryptocurrency involves substantial risk, and readers should conduct independent research and consult a qualified professional before making decisions.