GuidesEvergreen guide
Transfer Crypto to a Hardware Wallet
Transfer Crypto to a Hardware Wallet: a practical, no-hype guide for readers from GlobalCryptoWallets.com.
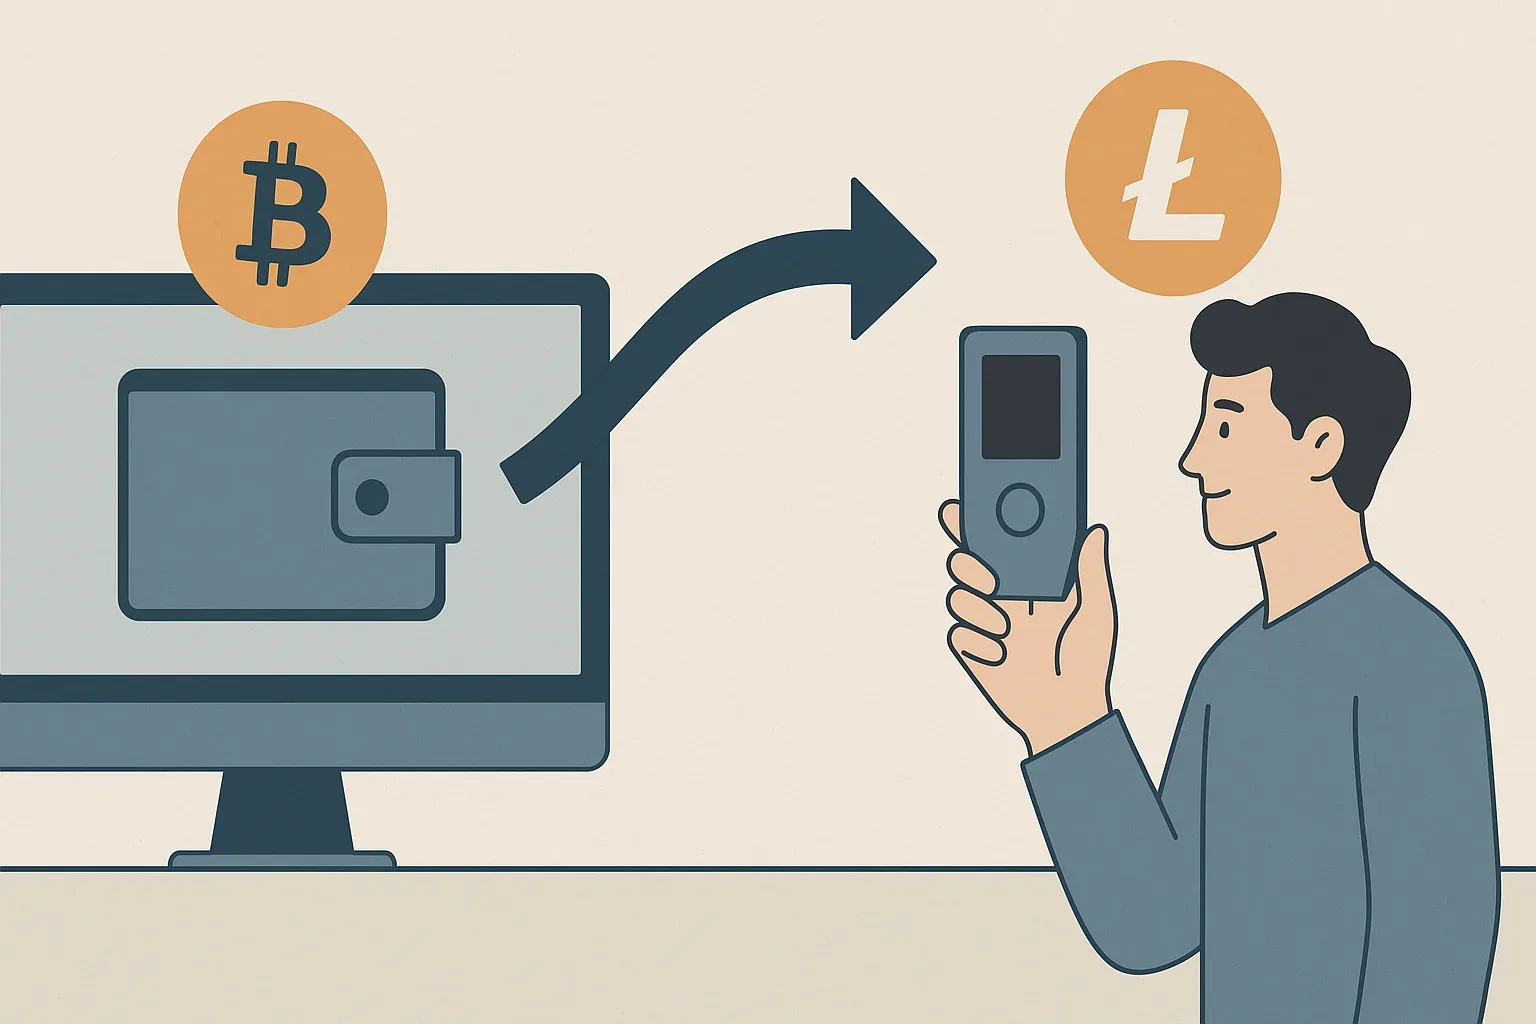
While software wallets and exchange accounts offer convenience, the ultimate safeguard for your digital assets, particularly for long term holdings, is a hardware wallet.
Introduction: Why Use a Hardware Wallet?
Unlike software wallets that are always connected to the internet, hardware wallets keep your private keys offline, making them virtually immune to online hacks, malware, and phishing attacks. When you sign a transaction, it occurs securely within the device itself, and only the signed transaction is broadcast to the network.
Understanding the Basics: What You Need Before You Start
This preparation ensures a smooth and secure process. First, you need a hardware wallet. Popular choices include Ledger, Trezor, and KeepKey. Ensure you purchase your hardware wallet directly from the manufacturer or an authorized reseller to avoid counterfeits or tampered devices. Second, you need cryptocurrency funds in a hot wallet, such as an exchange account or a software wallet, that you wish to transfer. Third, you must have your hardware wallet properly set up, including having its unique PIN and recovery phrase securely backed up.
Step 1: Acquire and Set Up Your Hardware Wallet
The first critical step is acquiring a legitimate hardware wallet. Purchase directly from the manufacturer's official website or a trusted, authorized distributor. Never buy a second-hand hardware wallet or one from an unknown seller, as it could be compromised. Once you receive your device, follow the manufacturer's instructions to set it up. This recovery phrase is the master key to your funds; whoever possesses it controls your crypto. Store this phrase offline, in a safe, private location, and never digitize it or share it with anyone.
Step 2: Install Necessary Wallet Software/Apps
Most hardware wallets require a companion application or software to interface with your computer or mobile device. This software acts as a user interface, allowing you to view your balances, generate receiving addresses, and initiate transactions. Download and install the official application directly from the hardware wallet manufacturer's website. Be extremely cautious of fake applications or browser extensions. Always double-check the URL and use official links. Once installed, connect your hardware wallet to your device, and the application will typically guide you through synchronizing with your wallet. During this step, your private keys remain securely on the hardware device; the software merely acts as a window to your funds on the blockchain.
Step 3: Prepare Your Crypto for Transfer
Before you initiate the transfer, there are several preparation steps for your cryptocurrency. First, confirm that your hardware wallet supports the specific cryptocurrency you intend to transfer. Second, ensure you are sending your crypto over the correct network. For example, if you are sending Ethereum, ensure both your sending wallet and hardware wallet are on the Ethereum mainnet. Sending funds on the wrong network can result in permanent loss. Finally, for very large transfers, consider sending a small test amount first to ensure everything works as expected before transferring the bulk of your funds. This step, while seemingly time consuming, can save you from costly errors.
Step 4: Generate a Receiving Address on Your Hardware Wallet
With your hardware wallet set up and companion software running, the next step is to generate a receiving address. On your hardware wallet's companion application, navigate to the specific cryptocurrency you wish to receive. Look for an option like 'Receive,' 'Deposit,' or 'My Address.' The application will then prompt you to confirm the receiving address on your hardware wallet's screen. Carefully compare the address displayed on your computer or mobile device with the address shown on your hardware wallet's screen, character by character. Any discrepancy means your system might be compromised, and you should halt the transaction immediately. It is always wise to verify a wallet download before you install it to prevent such issues.
Step 5: Initiate the Transfer from Your Source Wallet
Now, go to your source wallet, which could be an exchange platform or a software wallet. Locate the 'Send' or 'Withdraw' option for the specific cryptocurrency. Carefully paste the receiving address generated from your hardware wallet into the destination address field. Double-check the address again after pasting it. Many users fall victim to clipboard hijackers that swap legitimate addresses with attacker's addresses. A final character-by-character check is essential. Select the correct network (e.g., ERC-20 for Ethereum, TRC-20 for Tron, BEP-20 for Binance Smart Chain). Input the amount you wish to transfer, ensuring you account for any transaction fees. Initiate the transfer and confirm any prompts from your source wallet. For large transfers, always start with a small test amount before sending the full amount. This 'test transaction' principle significantly reduces risk.
Step 6: Verify the Transaction and Funds
Once you have initiated the transfer, the funds will be sent to the blockchain. The time it takes for the transaction to confirm depends on the network's congestion and the fees paid. You can usually track the transaction using the transaction ID (TXID) on a blockchain explorer (e.g., Etherscan for Ethereum, BTC explorer for Bitcoin). Simply paste the TXID into the explorer's search bar. Once the transaction has enough confirmations (which varies by blockchain and network conditions), the funds should appear in your hardware wallet's companion application. Refresh the application if necessary. While it is rare for a confirmed transaction not to show up, if you encounter delays, check the blockchain explorer for its status and ensure you are viewing the correct address in your wallet. Confirming receipt is the final step in securing your assets on your hardware device.
Important Security Considerations During Transfer
Security is not just about the hardware wallet itself, but also about the practices you adopt. Always verify the receiving address on your hardware wallet's screen, not just your computer screen, to prevent man-in-the-middle attacks. Always use official software and websites, bookmarking them to avoid fake sites found through search engines or malicious ads. Use a strong, unique PIN for your hardware wallet and enable two-factor authentication (2FA) on any exchange or software wallet you are sending funds from. Finally, use a clean, secure computer for transactions, free from known malware.
Troubleshooting Common Transfer Issues
Despite careful planning, issues can sometimes arise during a crypto transfer. If your funds do not appear in your hardware wallet after a reasonable time, here are common troubleshooting steps. First, check the transaction status on a blockchain explorer using the transaction ID. This will confirm if the transaction was broadcast and its current status (pending, confirmed, failed). Second, ensure you sent the funds to the correct network. A common mistake is sending tokens on the wrong chain (e.g., ERC-20 tokens to a BSC address). If you sent to a wrong but compatible network (like sending ERC-20 to a hardware wallet address on a compatible EVM chain it supports but was not intended for), you might be able to recover them by adding that network to your hardware wallet interface. However, sending to a completely incompatible network means the funds are likely lost. Third, verify that the cryptocurrency you sent is indeed supported by your hardware wallet. Fourth, ensure your hardware wallet's firmware and companion app are up to date. Outdated software can sometimes cause display issues. If all else fails, consult the support resources of your hardware wallet manufacturer and the platform you sent funds from, providing them with your transaction ID and details. They might be able to offer specific guidance or identify underlying issues.
Best Practices for long term Hardware Wallet Security
Securing your crypto with a hardware wallet is an ongoing process, not a one-time setup. Once your funds are safely on your device, continue to adhere to best practices for long term security. Physically secure your hardware wallet itself; treat it like a valuable piece of jewelry or cash. Store it in a safe place, protected from theft, damage, or extreme conditions. Remember that your recovery phrase is the ultimate backup. Store it in multiple, physically separate, secure locations that are known only to you. Consider using a metal seed phrase backup solution for enhanced durability against fire and water. Periodically check for and install official firmware updates for your hardware wallet to benefit from new features and security patches. However, always verify the update source. Never enter your recovery phrase into any digital device or website, even if it claims to be for validation or recovery. If you ever need to restore your wallet, do so only on a new, uncompromised hardware wallet. Regularly review your asset holdings and maintain an inventory. Educate yourself on new security threats and stay informed about best practices in self-custody.
Conclusion: Securing Your Digital Assets
Transferring cryptocurrency to a hardware wallet is a fundamental step for anyone serious about the long term security of their digital assets. While the process requires careful attention to detail, following these steps diligently will significantly reduce your exposure to online threats and provide you with true self-custody. By understanding the 'why' and 'how,' you empower yourself to navigate the crypto landscape securely. Remember, your hardware wallet is a powerful tool, but its security ultimately depends on your responsible handling and adherence to best practices. Invest the time to secure your crypto now, and safeguard your financial future in the decentralized world.
Topics in this article
- hardware-wallets
- cold-storage
- crypto-security
- self-custody
- how-to-guide
GlobalCryptoWallets.com publishes news, reviews, and educational information only. Nothing on this website is financial, investment, trading, legal, or tax advice. Cryptocurrency involves substantial risk, and readers should conduct independent research and consult a qualified professional before making decisions.